Mastering Remote Desktop On Mac With Raspberry Pi: The Ultimate Guide
Remote desktop access has become a crucial tool for modern professionals and tech enthusiasts alike. By leveraging remote desktop solutions, users can efficiently manage their devices from anywhere in the world. One of the most popular and cost-effective methods to achieve this is by setting up a remote desktop connection between a Mac and a Raspberry Pi. This setup not only enhances productivity but also allows you to harness the full potential of your Raspberry Pi from your Mac.
Whether you're a developer, hobbyist, or someone simply looking to streamline your workflow, understanding how to establish a remote desktop connection between your Mac and Raspberry Pi is a valuable skill. This guide will walk you through every step of the process, ensuring you have a seamless and secure connection.
Our focus will be on providing detailed instructions, troubleshooting tips, and best practices to help you master this essential setup. By the end of this article, you'll have the knowledge and confidence to remotely access your Raspberry Pi from your Mac with ease.
Table of Contents
- Introduction to Remote Desktop
- Hardware Requirements
- Software Setup
- Installing Raspbian OS
- Enabling VNC on Raspberry Pi
- Setting Up VNC Viewer on Mac
- Establishing the Remote Connection
- Common Issues and Solutions
- Enhancing Security
- Optimizing Performance
Introduction to Remote Desktop
Remote desktop technology allows users to control a computer from a distant location as if they were sitting in front of it. This capability is particularly useful for managing servers, troubleshooting issues, or accessing files stored on remote machines. When it comes to remote desktop solutions, one of the most popular combinations involves using a Raspberry Pi as the remote device and a Mac as the controlling device.
The Raspberry Pi, a compact and affordable single-board computer, offers a powerful platform for running various applications, including remote desktop services. Pairing it with a Mac provides a versatile setup that caters to both professional and personal needs. In this section, we'll explore the basics of remote desktop technology and its applications in the context of Mac and Raspberry Pi.
Why Choose Raspberry Pi for Remote Desktop?
- Cost-effective solution
- Highly customizable and versatile
- Low power consumption
- Wide range of supported software
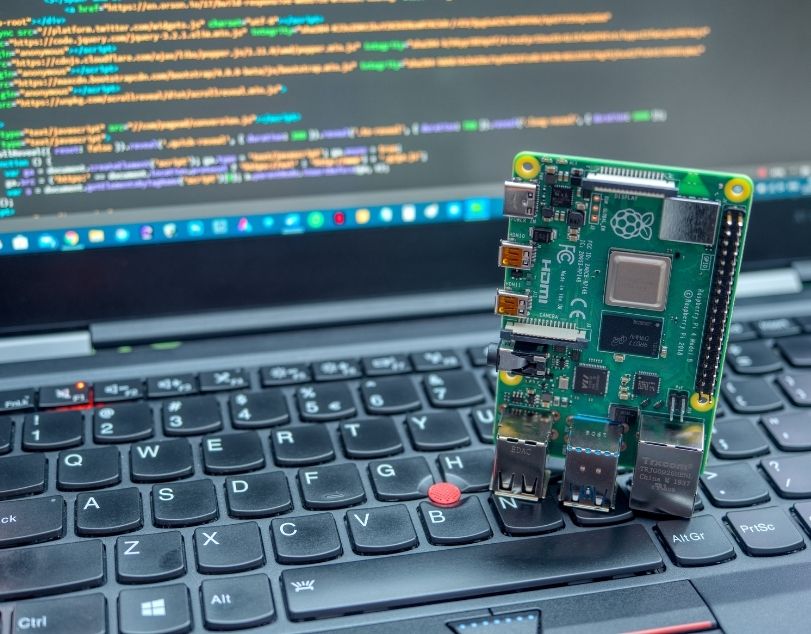
Hardware Requirements
To set up a remote desktop connection between your Mac and Raspberry Pi, you'll need a few essential components. While the Raspberry Pi itself is the centerpiece of this setup, other accessories play a critical role in ensuring a smooth experience. Below is a list of hardware requirements:
- Gradaundera
- Diego Saul Reyna Net Worth
- Caleb Oompaville
- Creflo Dollar Net Worth 2024
- Flamingo Youtube Age
Essential Components
- Raspberry Pi (any model from Raspberry Pi 3 onwards)
- MicroSD card (16GB or higher, preloaded with Raspbian OS)
- Power adapter compatible with your Raspberry Pi model
- Ethernet cable or Wi-Fi dongle (if wireless connectivity is preferred)
- HDMI cable and monitor (optional, for initial setup)
- Keyboard and mouse (optional, for initial setup)
Software Setup
Once you have the necessary hardware, the next step is to prepare the software environment. This involves installing the appropriate operating system on your Raspberry Pi and configuring the necessary applications on both the Pi and your Mac. The following section will guide you through the software setup process.
Installing the Operating System
The first step in setting up your Raspberry Pi for remote desktop access is installing an operating system. Raspbian, the official OS for Raspberry Pi, is the recommended choice due to its robustness and compatibility with remote desktop applications.
Installing Raspbian OS
Raspbian is a Debian-based operating system optimized for Raspberry Pi hardware. It provides a user-friendly interface and supports a wide range of applications, including VNC Server, which is essential for remote desktop functionality.
To install Raspbian on your Raspberry Pi:
- Download the latest version of Raspbian from the official website.
- Use a tool like Etcher to flash the Raspbian image onto your MicroSD card.
- Insert the MicroSD card into your Raspberry Pi and power it on.
- Follow the on-screen instructions to complete the initial setup.
Enabling VNC on Raspberry Pi
VNC (Virtual Network Computing) is a widely used protocol for remote desktop connections. Enabling VNC on your Raspberry Pi allows you to access its graphical interface from your Mac.
To enable VNC on your Raspberry Pi:
- Open the Raspberry Pi Configuration tool from the Preferences menu.
- Navigate to the Interfaces tab.
- Enable the VNC option and click OK.
- Reboot your Raspberry Pi to apply the changes.
Setting Up VNC Viewer on Mac
On your Mac, you'll need to install a VNC client to connect to your Raspberry Pi. The official VNC Viewer application is a reliable choice for this purpose.
To set up VNC Viewer on your Mac:
- Download and install VNC Viewer from the official VNC website.
- Launch the application and enter the IP address of your Raspberry Pi when prompted.
- Enter the login credentials for your Raspberry Pi to establish the connection.
Establishing the Remote Connection
With both the Raspberry Pi and Mac configured, you're ready to establish a remote desktop connection. Follow these steps to connect your Mac to your Raspberry Pi:
- Ensure both devices are connected to the same network.
- Open VNC Viewer on your Mac and enter the IP address of your Raspberry Pi.
- Log in using the credentials set during the Raspberry Pi setup.
- You should now see the desktop of your Raspberry Pi on your Mac screen.
Common Issues and Solutions
While setting up a remote desktop connection is generally straightforward, you may encounter some issues along the way. Below are common problems and their solutions:
Unable to Connect
- Check the IP address of your Raspberry Pi.
- Ensure both devices are on the same network.
- Verify that VNC is enabled on the Raspberry Pi.
Slow Performance
- Optimize your network settings.
- Use a wired Ethernet connection if possible.
- Adjust the VNC settings for lower resolution and reduced color depth.
Enhancing Security
Security is a critical consideration when setting up remote desktop access. Exposing your Raspberry Pi to the internet without proper safeguards can lead to unauthorized access and data breaches. Follow these best practices to enhance the security of your setup:
Use Strong Passwords
Ensure that the login credentials for your Raspberry Pi are strong and unique. Avoid using easily guessable passwords and enable two-factor authentication if supported.
Restrict Network Access
Limit access to your Raspberry Pi by configuring your router's firewall settings. Only allow connections from trusted IP addresses.
Optimizing Performance
For a seamless remote desktop experience, optimizing the performance of your setup is essential. Here are some tips to improve the speed and responsiveness of your connection:
Adjust VNC Settings
Tweak the VNC settings on your Raspberry Pi to prioritize performance over visual quality. Lowering the resolution and color depth can significantly improve connection speed.
Upgrade Hardware
If you're experiencing persistent performance issues, consider upgrading your Raspberry Pi model or using a faster network connection.
Conclusion
Setting up a remote desktop connection between your Mac and Raspberry Pi opens up a world of possibilities for remote management and collaboration. By following the steps outlined in this guide, you can create a secure and efficient setup that meets your needs.
We encourage you to share your experience with this setup in the comments below. Additionally, feel free to explore other articles on our site for more tips and tutorials on leveraging technology to enhance your productivity.

How to Configure Remote Desktop on Raspberry Pi? TechSphinx

How to Setup Raspberry Pi Remote Desktop Pi My Life Up
How to Setup Raspberry Pi Remote Desktop? Pidora

