Securely Connect Remote IoT VPC Raspberry Pi: Download And Setup On Windows
Connecting your IoT devices to a Virtual Private Cloud (VPC) using a Raspberry Pi can be a game-changer for remote management and security. In today's digital age, ensuring secure communication between devices is paramount. This article will guide you through the process of securely connecting a remote IoT VPC using Raspberry Pi and provide instructions for downloading and setting up on Windows.
As more businesses and individuals adopt IoT technologies, the need for robust security measures becomes increasingly critical. A secure connection ensures that sensitive data is protected from unauthorized access and potential cyber threats. By leveraging Raspberry Pi, you can create a cost-effective and efficient solution for managing IoT devices remotely.
This comprehensive guide will walk you through every step, from setting up your Raspberry Pi to configuring the VPC and ensuring a secure connection. Whether you're a beginner or an experienced developer, this article will provide valuable insights and practical tips to help you achieve a secure IoT setup.
Table of Contents
- Introduction to IoT VPC and Raspberry Pi
- Understanding Raspberry Pi Basics
- What is a Virtual Private Cloud (VPC)?
- Steps to Securely Connect Remote IoT VPC
- Setting Up Raspberry Pi for IoT
- Downloading Raspberry Pi Software on Windows
- Configuring Network Settings
- Common Issues and Troubleshooting
- Best Practices for Secure IoT Connections
- Conclusion and Next Steps
Introduction to IoT VPC and Raspberry Pi
The Internet of Things (IoT) has revolutionized the way we interact with technology, enabling devices to communicate and share data seamlessly. However, with this convenience comes the responsibility of ensuring secure communication. A Virtual Private Cloud (VPC) provides an isolated environment for your IoT devices, enhancing security and performance.
Raspberry Pi, a compact and affordable single-board computer, offers a powerful platform for managing IoT devices. By combining Raspberry Pi with a VPC, you can create a secure and scalable solution for remote IoT management.
In this section, we will explore the fundamentals of IoT VPC and how Raspberry Pi fits into the equation. Understanding these concepts is crucial for setting up a secure and efficient system.
Understanding Raspberry Pi Basics
What is Raspberry Pi?
Raspberry Pi is a series of small, single-board computers developed by the Raspberry Pi Foundation. It is widely used in educational settings and DIY projects due to its affordability and versatility. The device runs on Linux-based operating systems and can be customized to suit various applications, including IoT.
Key features of Raspberry Pi include:
- Compact size and low power consumption
- Support for multiple programming languages
- Compatibility with a wide range of sensors and peripherals
Why Use Raspberry Pi for IoT?
Raspberry Pi is an ideal choice for IoT projects due to its flexibility and ease of use. It allows developers to create complex systems without requiring extensive hardware knowledge. Additionally, its open-source nature encourages innovation and collaboration within the developer community.
What is a Virtual Private Cloud (VPC)?
A Virtual Private Cloud (VPC) is a logically isolated section of a cloud provider's infrastructure. It allows users to configure their own network environment, including subnets, IP addresses, and security groups. By using a VPC, you can ensure that your IoT devices are protected from external threats while maintaining optimal performance.
Key benefits of using a VPC for IoT include:
- Enhanced security through network isolation
- Scalability to accommodate growing device fleets
- Customizable network configurations
Steps to Securely Connect Remote IoT VPC
Securing your IoT VPC involves several key steps. From configuring firewalls to implementing encryption protocols, each step plays a critical role in protecting your devices and data. Below is a step-by-step guide to help you achieve a secure connection:
Step 1: Set Up a VPC
Create a VPC in your preferred cloud provider's console. Define subnets, IP ranges, and security groups to tailor the environment to your needs.
Step 2: Configure Firewall Rules
Implement strict firewall rules to control inbound and outbound traffic. Only allow necessary ports and protocols to minimize potential vulnerabilities.
Step 3: Use Encryption
Encrypt all communication between devices using protocols such as TLS or SSH. This ensures that sensitive data remains secure during transmission.
Setting Up Raspberry Pi for IoT
Setting up Raspberry Pi for IoT involves installing the appropriate software and configuring the device for optimal performance. Follow these steps to get started:
Step 1: Install an Operating System
Download and install a Linux-based operating system such as Raspbian or Ubuntu onto your Raspberry Pi. These systems provide the necessary tools and libraries for IoT development.
Step 2: Connect to the Internet
Ensure your Raspberry Pi is connected to the internet via Wi-Fi or Ethernet. This connection is essential for accessing cloud services and managing IoT devices.
Step 3: Install IoT Libraries
Install libraries such as MQTT or CoAP to facilitate communication between devices. These protocols are specifically designed for IoT applications and offer lightweight and efficient communication.
Downloading Raspberry Pi Software on Windows
Downloading Raspberry Pi software on Windows is a straightforward process. Follow these steps to obtain the necessary tools:
Step 1: Download Raspberry Pi Imager
Visit the official Raspberry Pi website and download the Raspberry Pi Imager tool. This utility simplifies the process of writing operating system images to SD cards.
Step 2: Write the Image to an SD Card
Insert an SD card into your computer and use the Raspberry Pi Imager to write the desired operating system image. Ensure the SD card has sufficient capacity to accommodate the image.
Step 3: Boot the Raspberry Pi
Insert the SD card into your Raspberry Pi and power it on. The device will automatically boot into the installed operating system, ready for configuration.
Configuring Network Settings
Proper network configuration is essential for ensuring seamless communication between your Raspberry Pi and IoT devices. Follow these steps to configure your network settings:
Step 1: Assign a Static IP Address
Assign a static IP address to your Raspberry Pi to ensure consistent connectivity. This can be done through the device's network settings or via your router's configuration interface.
Step 2: Configure DNS Settings
Set up DNS servers to enable domain name resolution. Use reliable DNS providers such as Google DNS or Cloudflare for optimal performance.
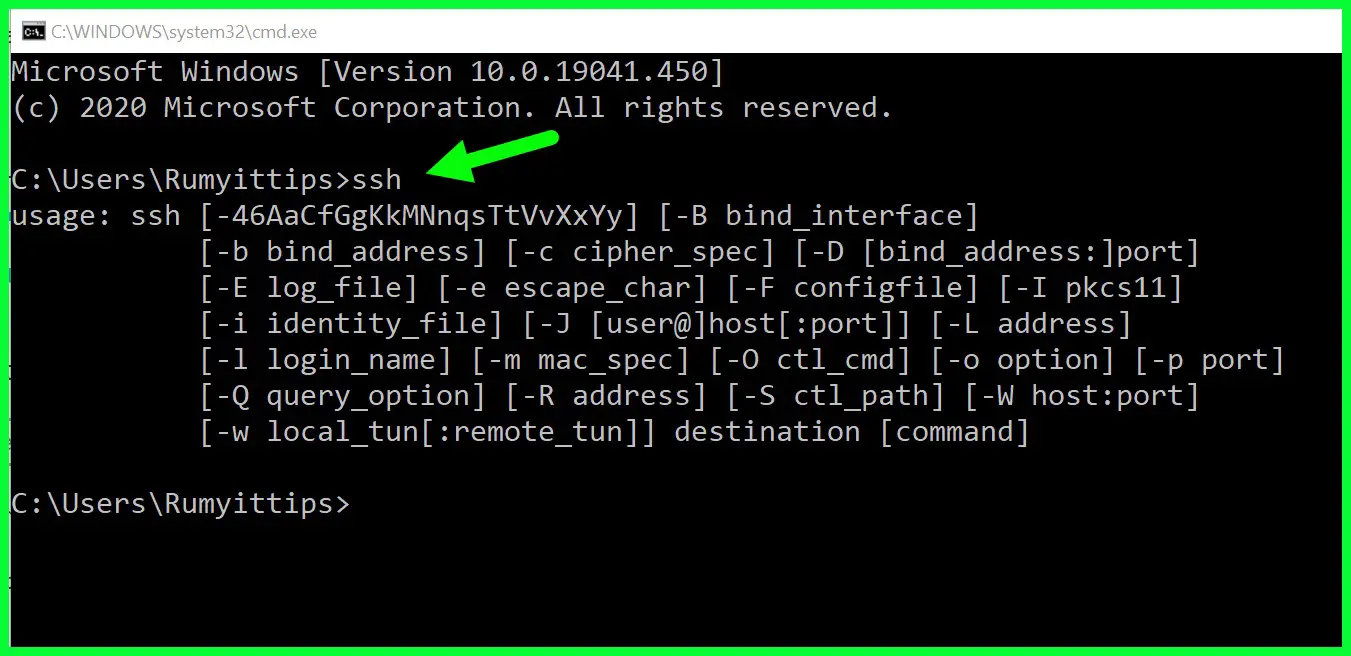
Step 3: Enable SSH Access
Enable SSH access to allow remote management of your Raspberry Pi. This can be done by creating an empty file named "ssh" on the boot partition of the SD card.
Common Issues and Troubleshooting
Despite careful planning, issues can arise during the setup process. Below are some common problems and their solutions:
Issue 1: Unable to Connect to the Internet
Solution: Verify your network settings and ensure the correct Wi-Fi credentials or Ethernet connection is established.
Issue 2: SSH Access Denied
Solution: Check the SSH configuration file and ensure the service is enabled. Restart the SSH service if necessary.
Issue 3: Slow Network Performance
Solution: Optimize network settings and consider upgrading your internet connection for improved performance.
Best Practices for Secure IoT Connections
Implementing best practices is crucial for maintaining a secure IoT setup. Follow these guidelines to enhance the security of your system:
- Regularly update firmware and software to patch vulnerabilities
- Use strong, unique passwords for all devices and accounts
- Monitor network activity for suspicious behavior
- Limit access to sensitive data and control points
Conclusion and Next Steps
In conclusion, securely connecting a remote IoT VPC using Raspberry Pi is an effective way to manage and protect your devices. By following the steps outlined in this guide, you can create a robust and secure system tailored to your needs. Remember to adhere to best practices and regularly update your setup to address emerging threats.
We encourage you to share your thoughts and experiences in the comments section below. Additionally, explore our other articles for more insights into IoT and related technologies. Together, let's build a safer and more connected digital world!
Data Sources and References:

Securely Connect RemoteIoT VPC Raspberry Pi AWS Download Windows A

Securely Connect RemoteIoT VPC Raspberry Pi Free Download For Windows
RemoteIoT VPC SSH Raspberry Pi Download Windows 10 File And Securely

